

Pumpkin Mug Cake (Gluten Free, 90 Seconds)
A gluten free pumpkin mug cake with white chocolate chips and cream cheese frosting, made in one mug in the microwave. Ninety seconds from craving to spoon.

This is not the lean version. Most single-serving pumpkin mug cakes online are built to come in under 200 calories, and they’re fine, and this isn’t one of them. This has white chocolate chips through it and cream cheese frosting on top and it tastes like a slice of pumpkin cake rather than a healthy approximation of one.
A pumpkin mug cake is a single-serving cake mixed and cooked in a mug in the microwave. This version uses gluten free all-purpose flour, butter, brown sugar, pumpkin puree, and pumpkin pie spice, cooks in 60 to 90 seconds, and gets topped with a quick cream cheese frosting.
Ninety seconds is the whole pitch. From deciding you want cake to eating cake, with one mug and one fork to wash.
If you like mug cakes, I also have a Gluten Free Chocolate Mug Cake and a Banana Mug Cake. For more pumpkin, there’s my Pumpkin Spice Syrup.
Why You’ll Love This
- Ninety seconds and one mug. No bowl, no pan, no oven, nothing to wash but the mug you ate out of.
- It uses up leftover pumpkin puree. Two tablespoons. That’s the amount that always sits in the fridge going grey after you’ve made something else.
- It’s gluten free without tasting like a compromise. Standard 1:1 flour blend, no almond flour, no coconut flour, no special shopping.

Ingredients You’ll Need
(Amounts are in the recipe card below. These are my notes on why each one is in there.)
- Gluten free all-purpose flour: any 1:1 blend that contains xanthan gum. Three tablespoons is all it takes. Don’t swap in coconut flour, it absorbs far more liquid and you’ll get a dry puck.
- Melted butter: melt it in the mug first and you skip a dish. It’s also most of what keeps the crumb tender, since there’s no rest time for the flour to hydrate.
- Brown sugar: the molasses matters more than the sweetness. Coconut sugar works and you may want slightly more of it.
- Pumpkin puree: two tablespoons, and check the can lists pumpkin as the only ingredient. More than two tablespoons and the cake goes gummy in the middle.
- Egg: the structure. There’s no leavening time in a mug cake, so the egg is doing most of the lifting.
- Baking soda and pumpkin pie spice: a quarter teaspoon and a half teaspoon. Small amounts, and both matter, because a mug cake has no time to develop flavor.
- White chocolate chips: through the batter and a few on top. Dark chocolate works if white is too sweet.
- Cream cheese frosting: Greek yogurt, cream cheese, and powdered sugar whisked together while the cake cooks.
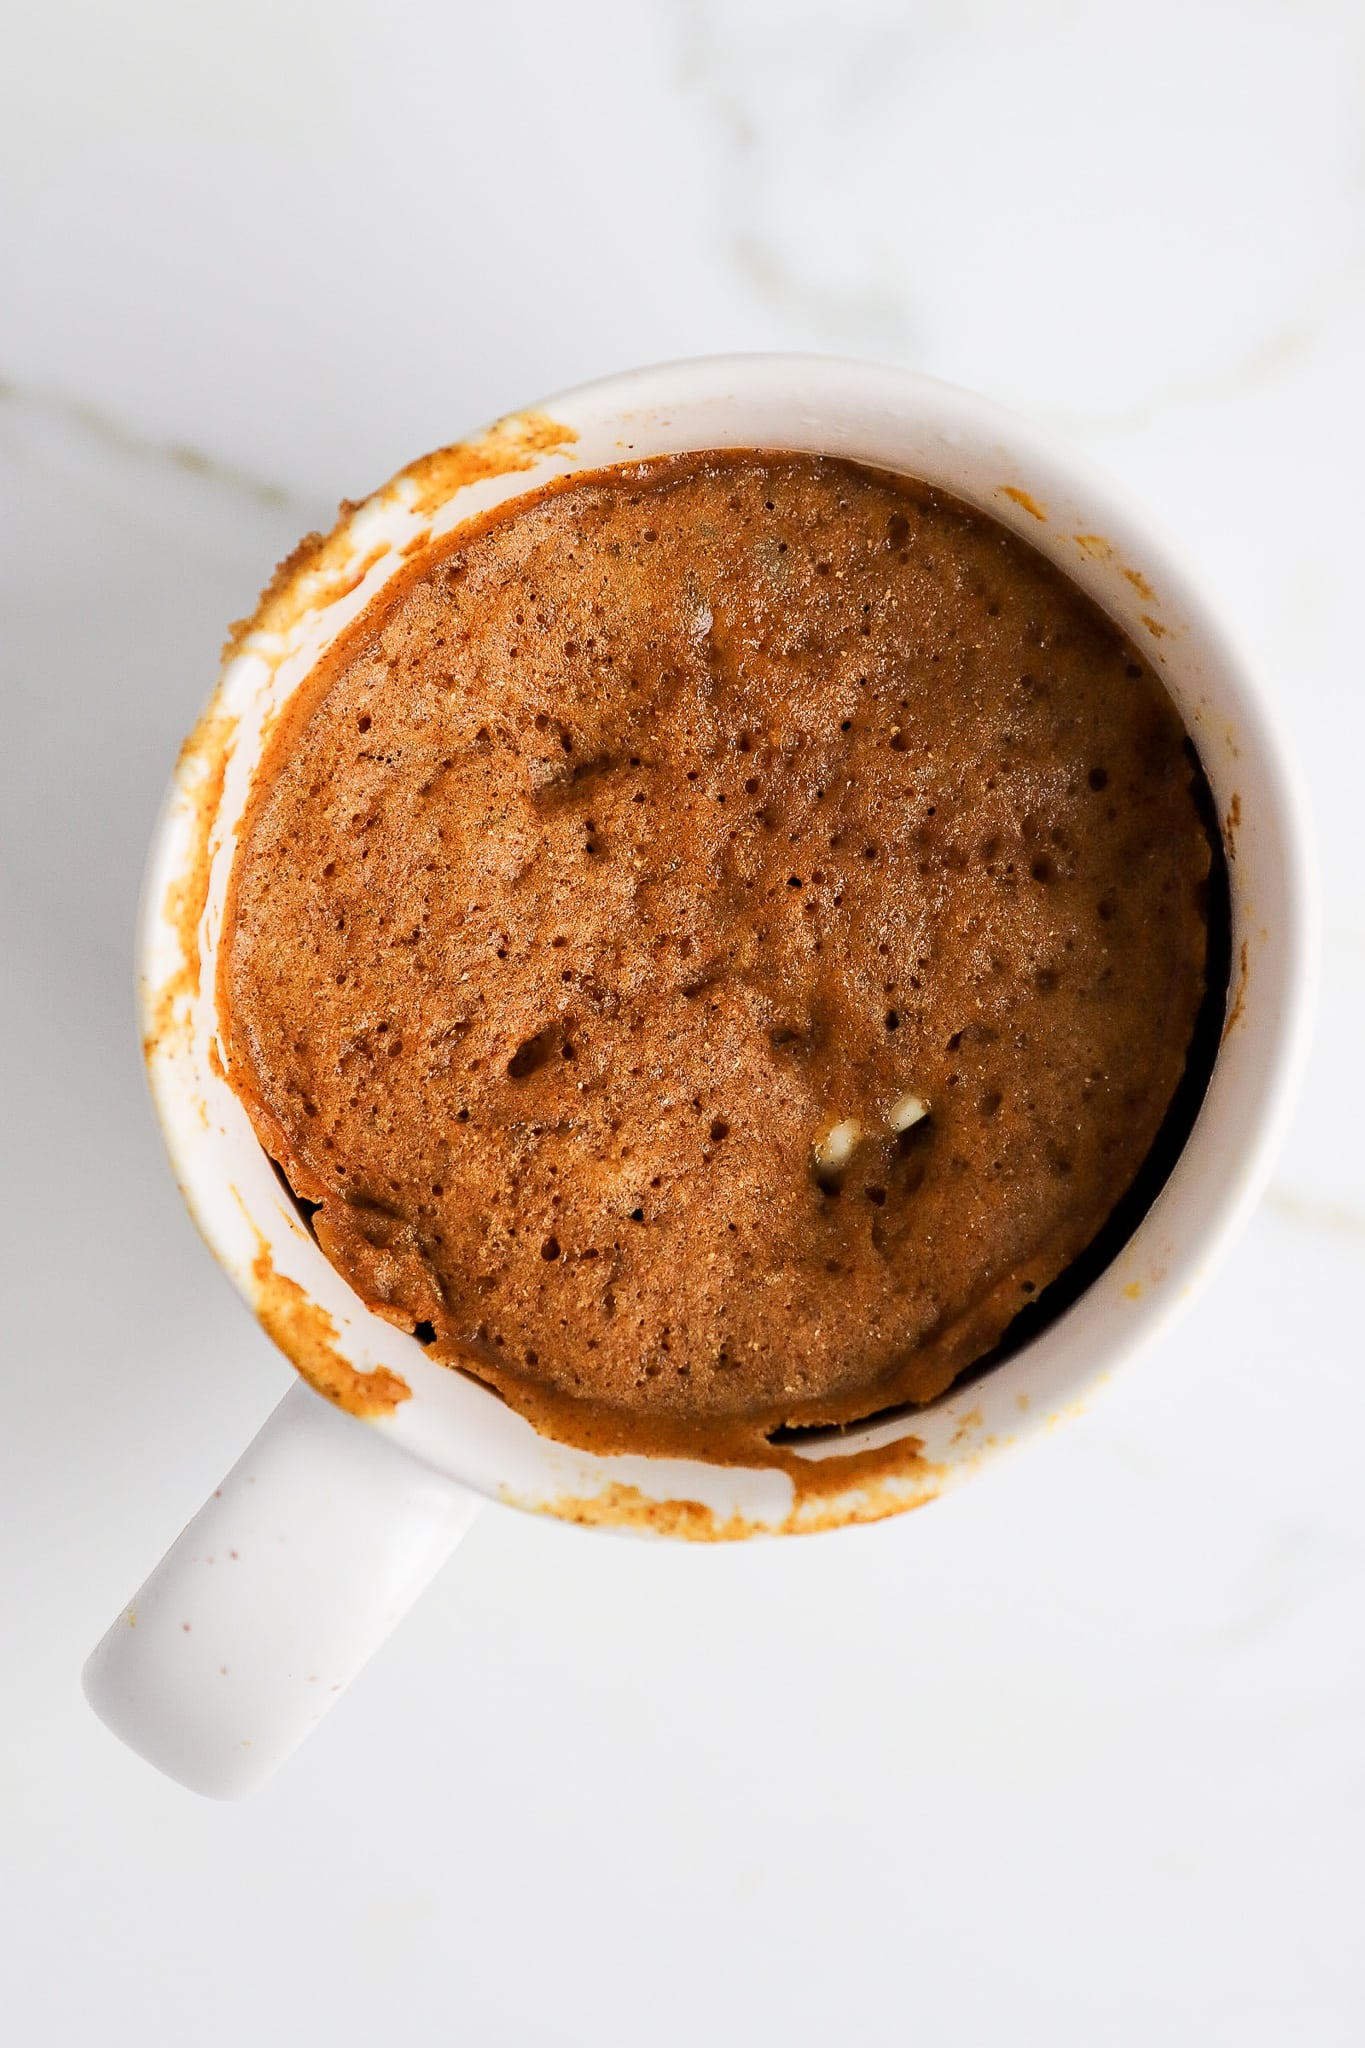
How to Make a Pumpkin Mug Cake
- Melt the butter in a microwave-safe mug, about 20 seconds. Use a mug that holds at least 10 ounces or the batter will overflow.
- Add the brown sugar, gluten free flour, pumpkin puree, pumpkin pie spice, baking soda, egg, and vanilla directly to the mug. Mix well with a fork until no dry flour is left.
- Stir in most of the white chocolate chips and scatter a few on top.
- Microwave 60 seconds, then check. Add 15 seconds at a time until the top springs back. Every microwave is different and 60 to 90 seconds covers most of them.
- Let it sit for 2 minutes before eating. The center keeps cooking and it’s molten straight out.
- Top with the cream cheese frosting, whipped cream, or ice cream and a dusting of pumpkin pie spice.
Tips Before You Start
- Don’t overcook it. This is the only way to ruin a mug cake. Overcooked mug cake goes rubbery and dry, and there’s no fixing it. Pull it while the very center still looks slightly soft, because it firms up as it rests.
- Don’t overmix. Stir until the flour disappears and stop. A smooth, beaten batter makes a tough cake in the microwave.
- Use a wide mug, not a tall one. Tall narrow mugs cook unevenly, so you get a dry ring and a raw middle. A wide mug or a small bowl cooks through evenly.

Frequently Asked Questions
Why is my mug cake rubbery?
Overcooking, almost every time. Microwave 60 seconds first and check before adding more. Fifteen seconds too long is the difference between cake and sponge.
Can I use regular flour instead of gluten free?
Yes, all-purpose flour works one for one in the same amount. The gluten free version is for people who need it, not because the recipe requires it.
What size mug should I use?
At least 10 ounces, and wider is better than taller. The batter roughly doubles as it cooks and a small mug will overflow onto your microwave floor.
Can I make it without the egg?
I haven’t tested it. The egg is doing the structural work here, so I’d expect an egg replacer rather than applesauce to be your best chance.

Pumpkin Mug Cake (Gluten Free, 90 Seconds)
Ingredients
- 1 tbsp butter
- 2 tbsp brown sugar
- 3 tbsp gluten-free all purpose flour
- 2 tbsp pumpkin puree
- ½ tsp pumpkin spice
- ¼ tsp baking soda
- 1 egg
- ½ tsp vanilla extract
- 2 tbsp white chocolate chips
- Cream cheese frosting optional
Instructions
- In a mug, melt the butter. Then add all remaining ingredients and mix well with a fork.
- Top with a few extra white chocolate chips and microwave for 60-90 seconds. Start with 60 and do an additional 15 seconds at a time. The cook time will depend on your microwave wattage. Let it sit for 2 minutes.
- Remove from mug and top with cream cheese frosting, whipped cream, or ice cream and a sprinkle of pumpkin pie spice.
Notes
Nutrition
The nutrition information provided is calculated based on industry-standard software and should be used as a general guide only. The information may vary depending on ingredient substitutions, cooking techniques, and individual serving sizes. It is the responsibility of the reader to ensure the accuracy and appropriateness of the nutritional information provided. Always consult a qualified healthcare provider for personalized medical or nutritional advice.
More Pumpkin Recipes You’ll Like
- Gluten Free Pumpkin Muffins
- Pumpkin Baked Oats
- Pumpkin Spice Syrup
- Copycat Pumpkin Perfect Bars
- Gluten Free Chocolate Mug Cake
If you make this, leave a star rating and a comment below and tell me how long your microwave needed. And if you post it, tag me @basicswithbails or use #basicswithbails.

About Bailey
I love to bake, cook, exercise, and document all of the above. Nutrition is not low fat. It is not low calorie. It’s not feeling deprived or being hungry all the time. It’s nourishing your body with real, whole foods so that you are consistently satisfied and energized to live your life to the fullest! Read more…


